Read the full article here.
Not quite a toaster but not quite an oven, a toaster oven is a unique kitchen appliance that sits on your countertop waiting to cook, bake, toast and reheat foods.
It’s often dubbed as the must-have compact gadget for small kitchens and cramped dorm rooms, but any size kitchen can benefit from having a toaster oven on hand.
One of the perks of having a toaster oven is the ability to make baked goods, such as pies, and other recipes without having to heat up the full-size oven. Toaster ovens are fully capable of baking pies, breads, muffins, cookies, casseroles and much more. They’re space-saving, cost-effective and convenient.
If you’ve wanted to graduate from making toast and frozen pizzas to baking full-size pies in your toaster oven, here is how to do so according to celebrity chef and nutritionist Serena Poon.
Step 1: Measure Your Oven-Safe Pie Pan
Poon recommends ensuring you have a pie pan that fits inside your toaster oven before getting started with the recipe. Most pie recipes call for a 9-inch pie pan, and the typical toaster oven can comfortably fit a 13-inch pie.
It’s also vital to make sure your pie pan is oven-safe and suitable for use inside of a toaster oven, as recommended by Yale University’s fire safety information.
Step 2: Preheat Your Toaster Oven
Preheat your toaster oven to the temperature noted in the recipe. This depends on the type of pie you are making.
For apple pie, the Mayo Clinic recommends baking at 425 degrees Fahrenheit for the first 15 minutes, then reducing the temperature to 350 F and continuing for another 40 minutes.
For cherry pie, bake for 40 to 50 minutes at 400 F.
Step 3: Set Your Pie Crust Into the Pan
Mix and set your pie crust into your pie pan. You can make your own pie crust or purchase a store-bought one at most supermarkets.
If you have a frozen unbaked pie, you can place it directly into the toaster oven.
Step 4: Mix and Pour the Pie Filling
Here’s when you add the filling. The pie crust should already be in the pie pan, so pour the filling into the crust and smooth out the top.
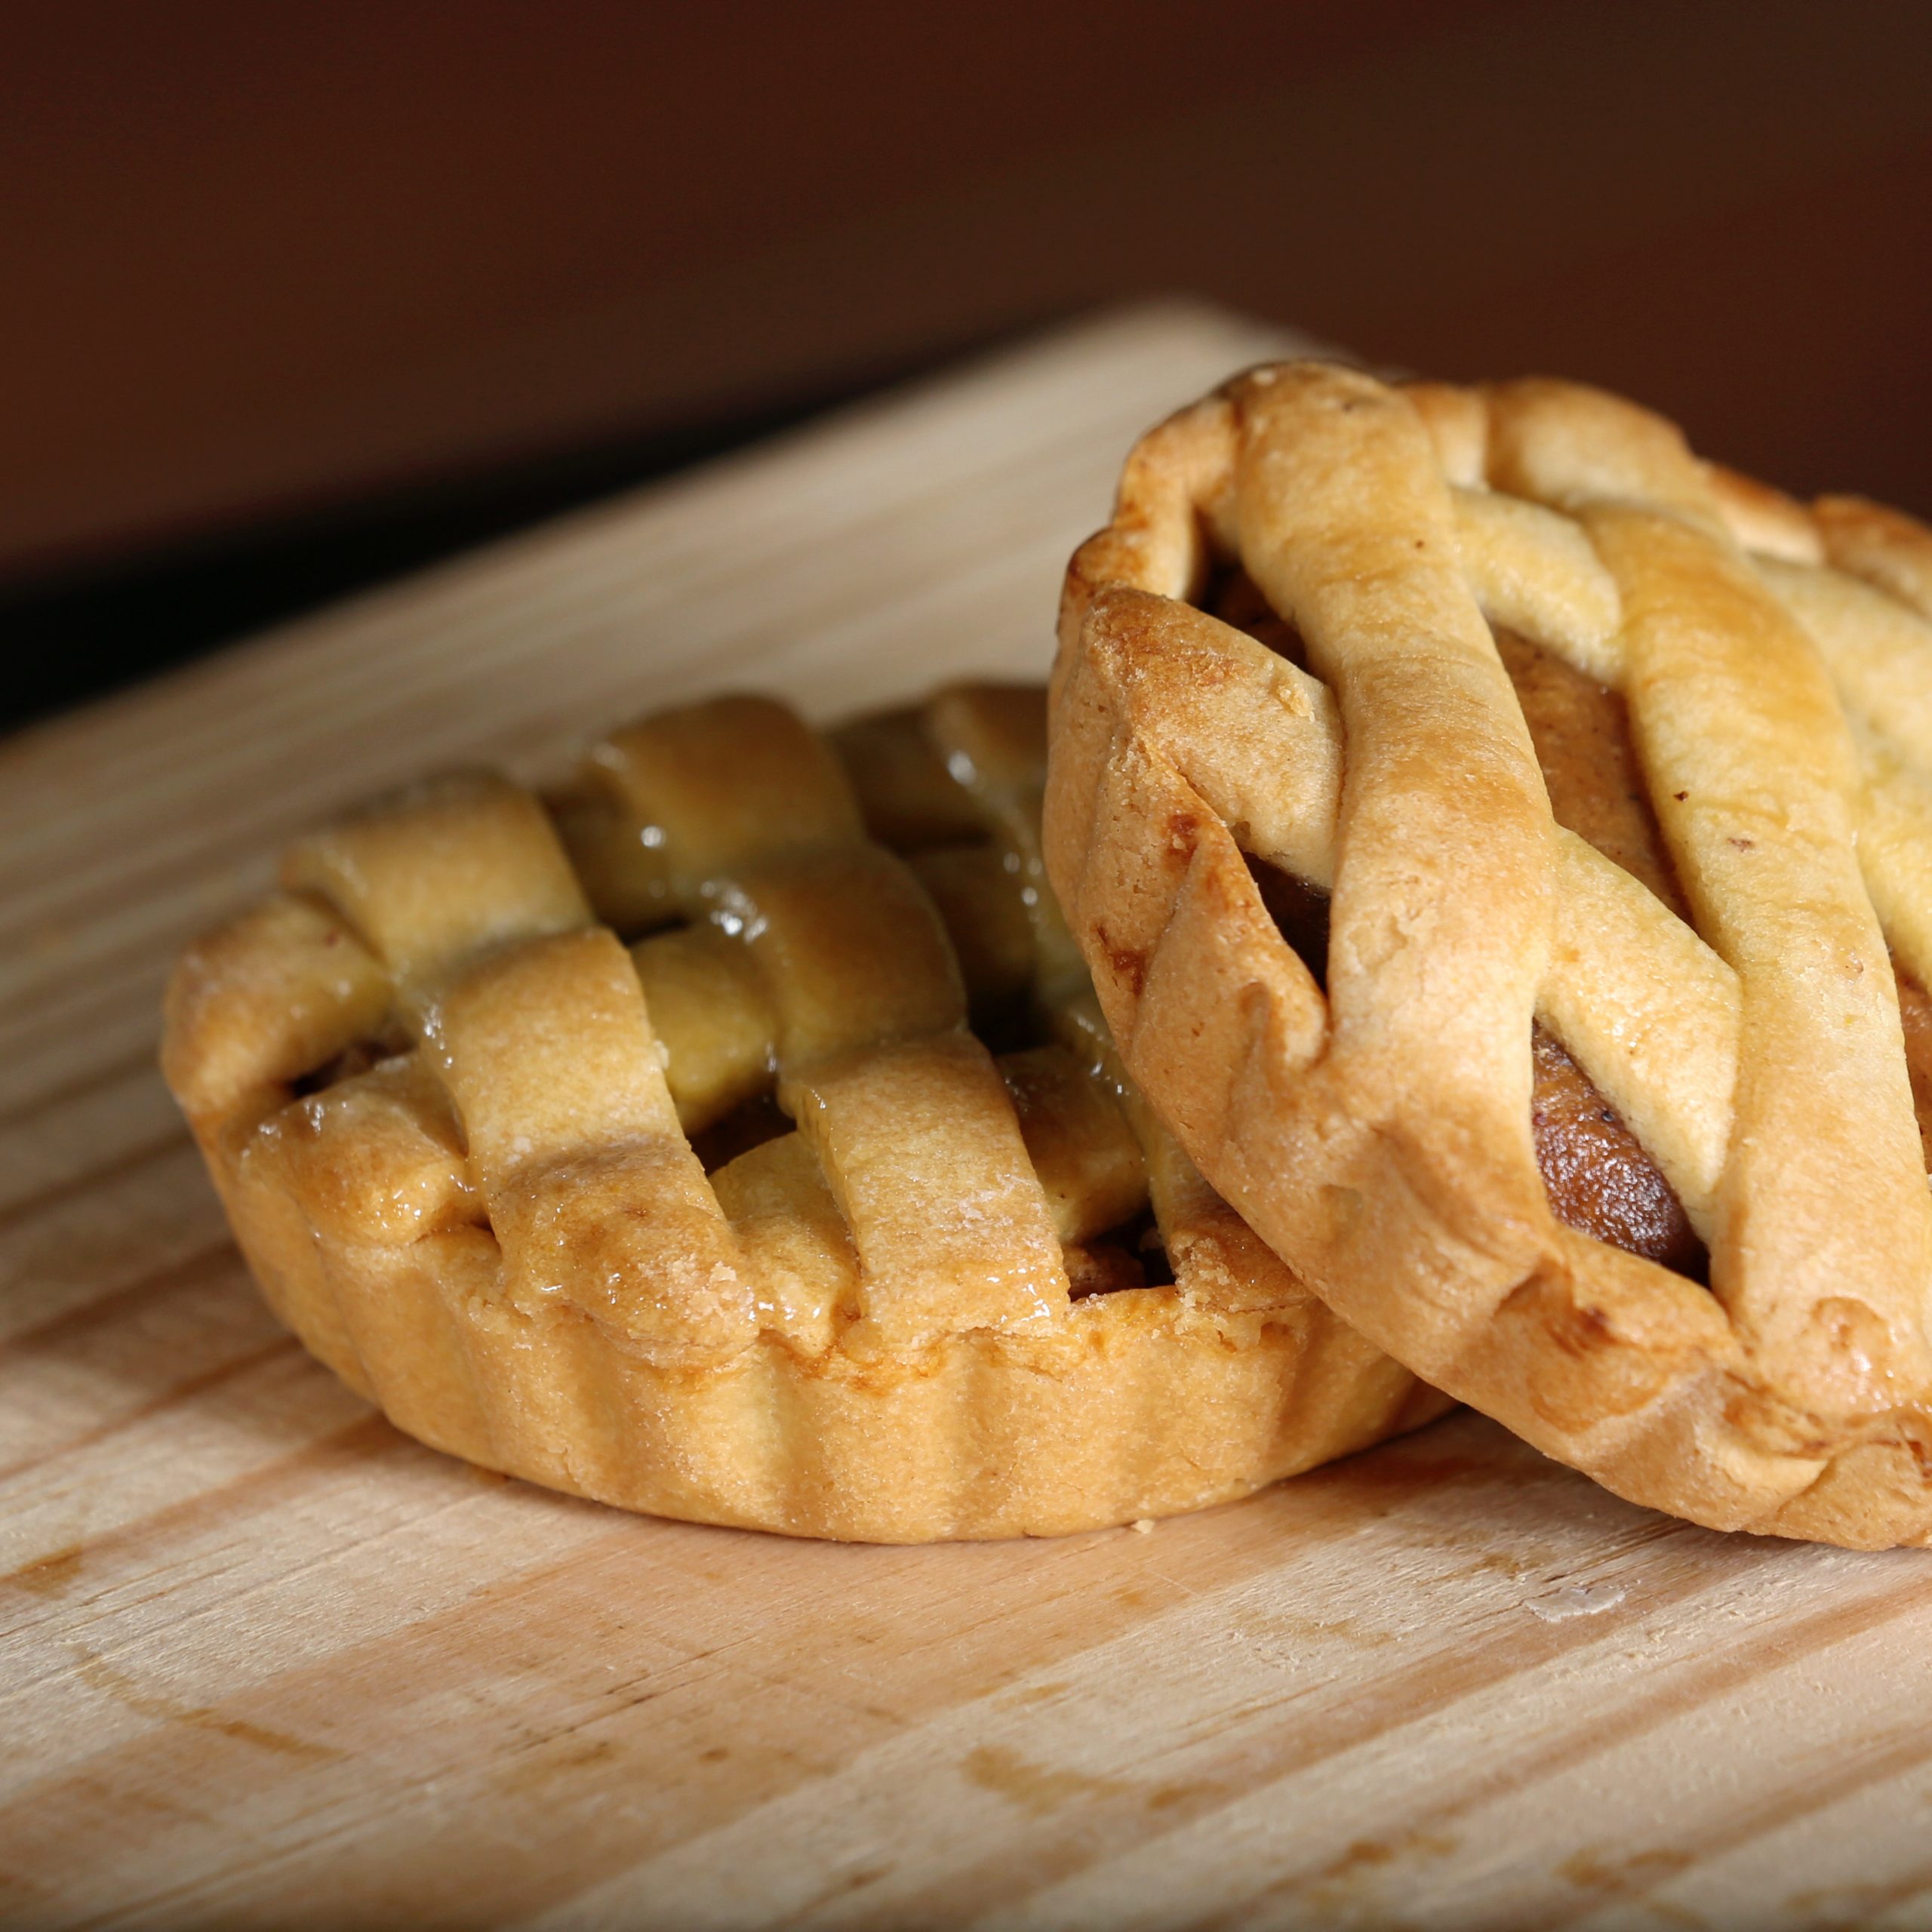
Some pies, such as apple and cherry, require an additional pie crust over the filling before they’re ready to be baked.
Step 5: Bake It
When the toaster oven has reached the ideal temperature and your pie is assembled, carefully place the pie into the hot toaster oven. Allow the pie to bake for the appropriate amount of time. The bake time varies depending on the recipe.
The Cleveland Clinic recommends baking pumpkin pie at 425 F for 15 minutes and an additional 25 to 30 minutes at 350 F.
Step 6: Carefully Remove the Pie With Oven Mitts
Protecting your hands with thick oven mitts, safely remove the pie from the toaster oven. Be sure to turn off the toaster oven when not in use.
When the unit has cooled, clean the crumb tray as this could be a potential fire hazard.
Step 7: Let Your Pie Cool
It’s tempting to dig into a freshly baked pie, but it’s important to let the pie cool before handling it. Poon recommends placing the pie on a wire rack to allow air to circulate around the pie. Let it cool for 2 to 4 hours before enjoying, topping or transferring to the refrigerator.
by


